These options allow you to upload and display your own table layout graphic with your booking form. This is meant to be used in conjunction with the plugin feature that lets you add a tables dropdown to your booking form and assign tables to bookings. As such, the options related to the tables graphic are found in the same place, by going to Settings > Advanced in the plugin admin, and scrolling down to the Tables area. There you will find the following options:
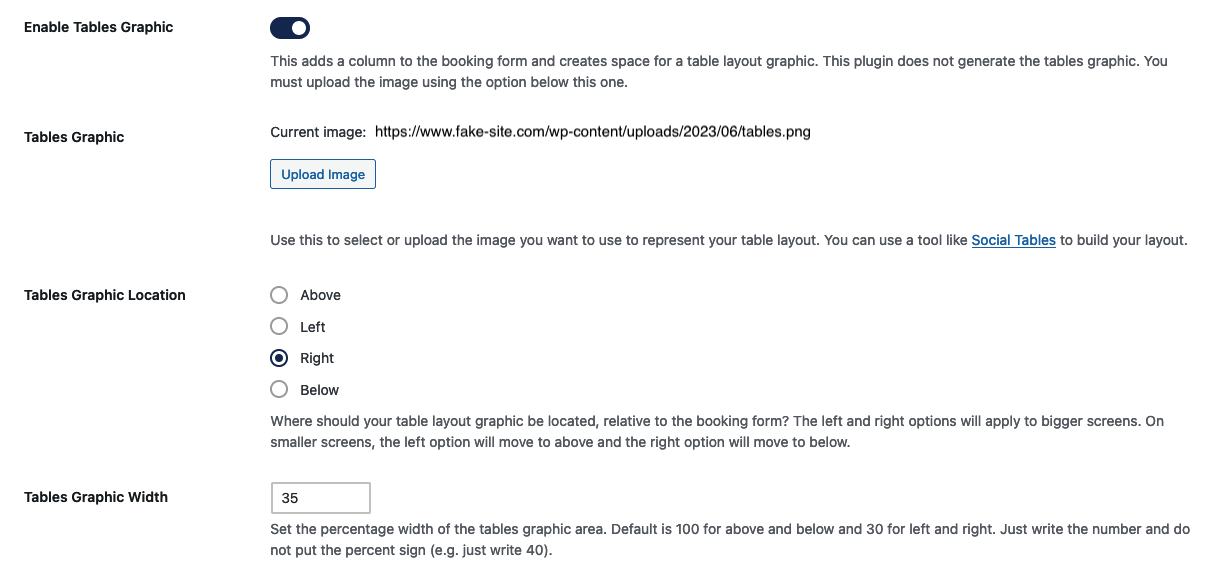
- Enable Tables Graphic: This enables the functionality to add a graphic, which adds a column to the booking form and creates space for a table layout graphic.
- Tables Graphic: Use this to select or upload the image you want to use to represent your table layout.
- Tables Graphic Location: Use this to choose where you would like your table layout graphic to be located, relative to the booking form. The left and right options will apply to bigger screens. On smaller screens, the left option will move to above and the right option will move to below.
- Tables Graphic Width: Use this to set the percentage width of the tables graphic area. The default is 100 for above and below and 30 for left and right. Just write the number and do not put the percent sign (e.g. just write 40).
Creating a layout graphic
It’s important to note that the plugin does not generate the tables graphic. You must upload the image you want to use for the graphic.
You can use a tool like Social Tables to build your layout.