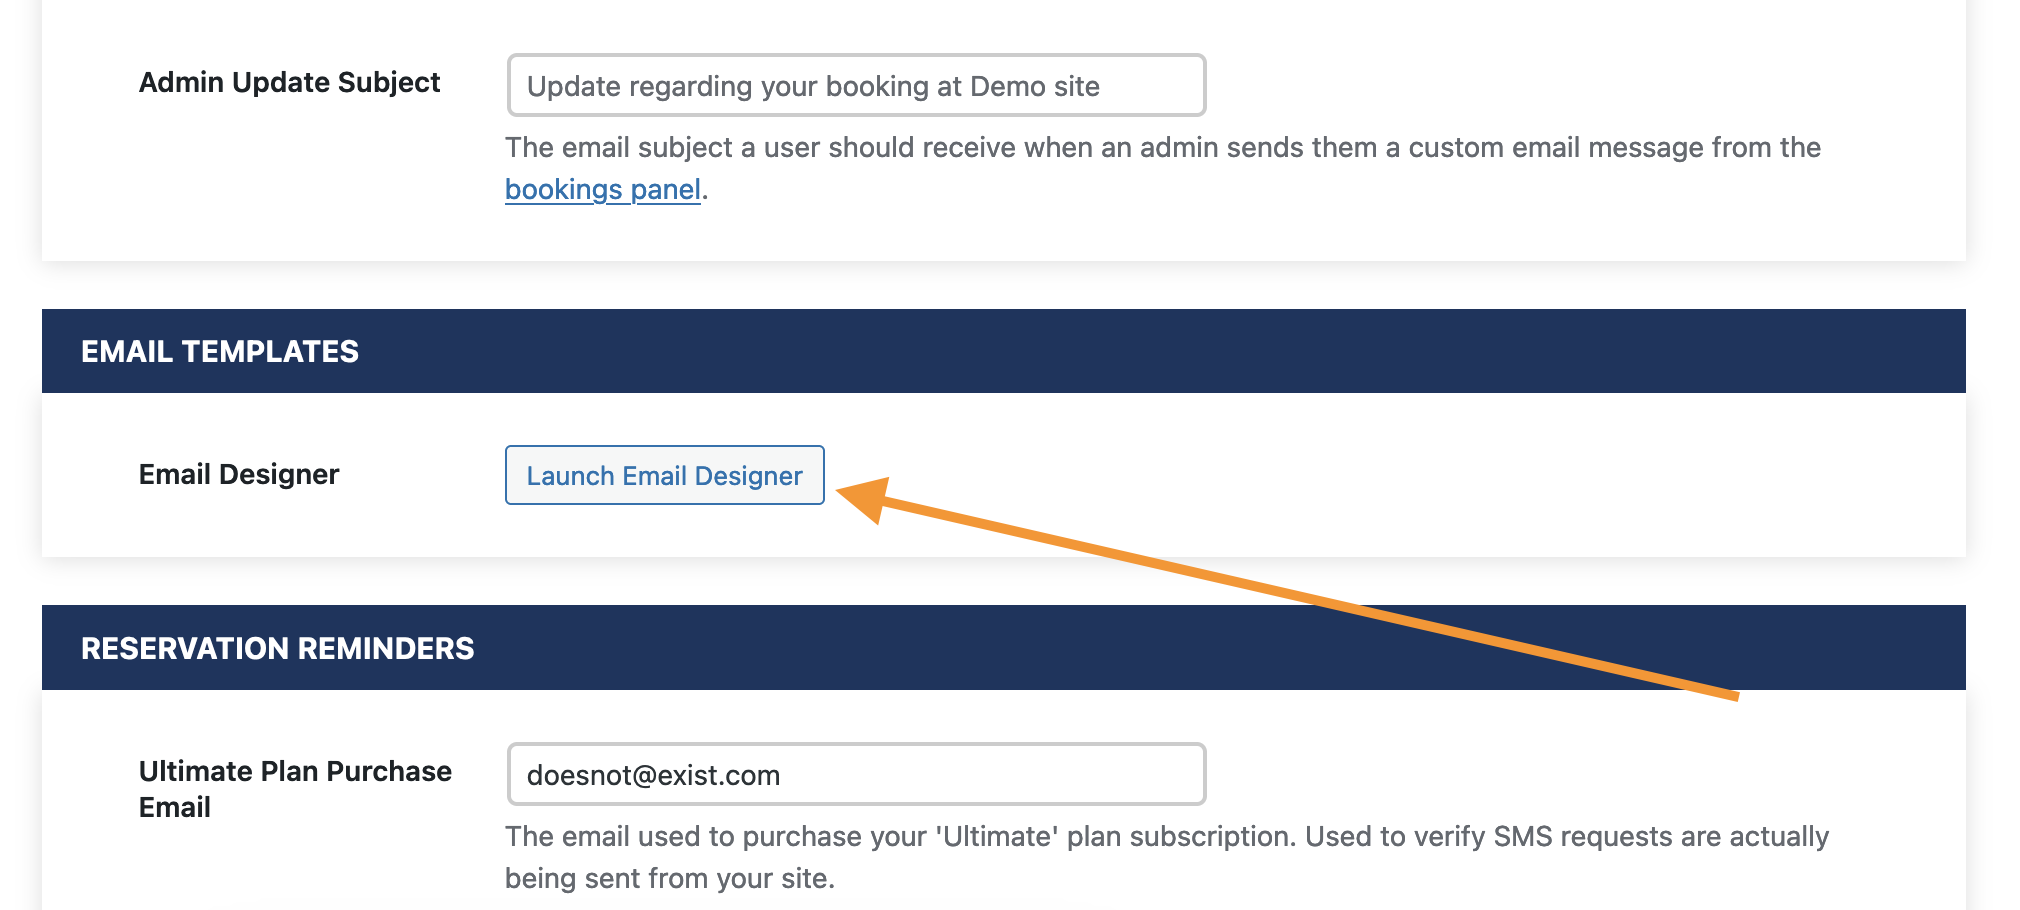
To modify the email templates, go to the Settings > Notifications, scroll down to the Email Templates section and click the Launch Email Designer button.
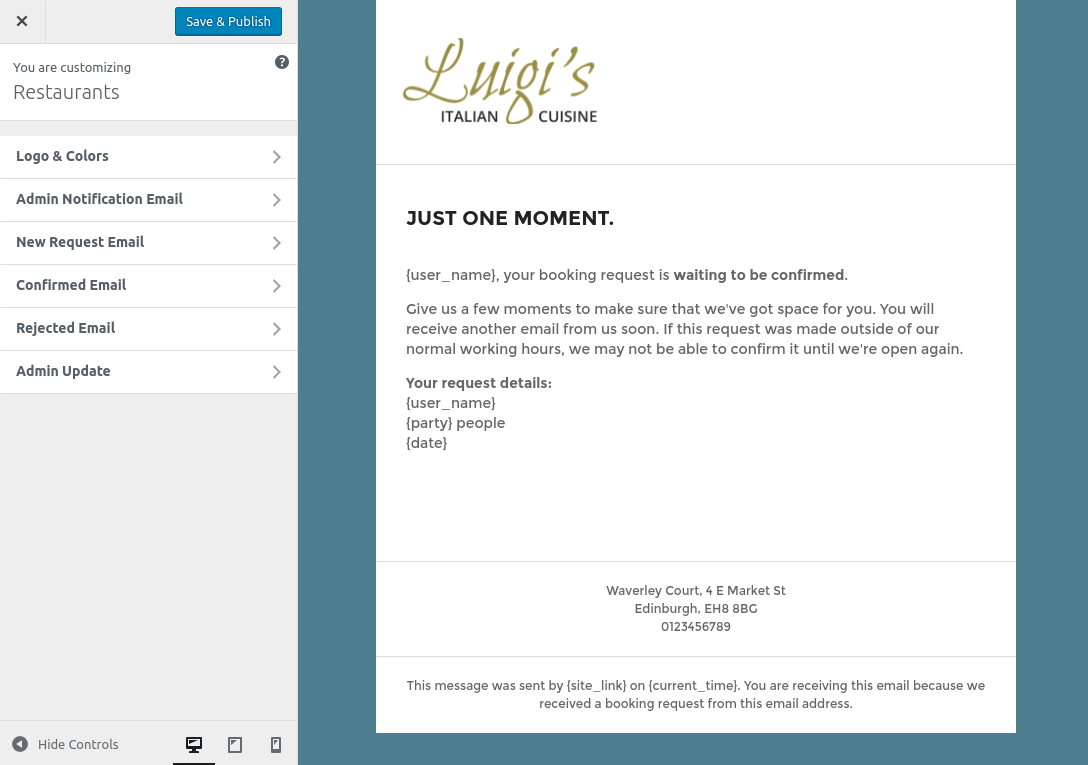
The Email Designer allows you to preview each of your notification emails, change the colors and templates, upload your own logo, and include special lead sentences.
Click on the Logos & Colors section to add your restaurant’s logo and set colors to match your brand.
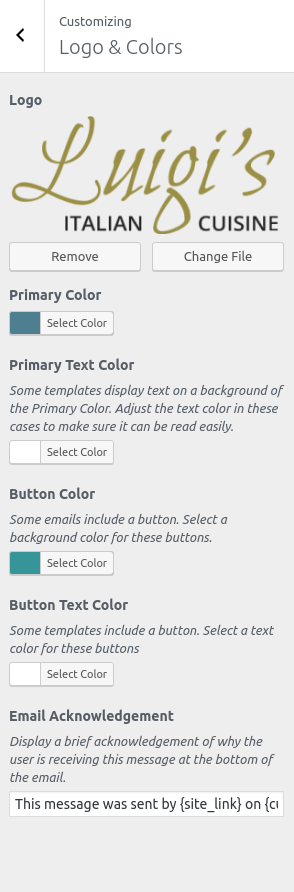
In this section, you can also customize the Email Acknowledgement. This is an important message which tells the recipient why they’re receiving this email. In some countries, including this acknowledgement is a legal requirement, so I encourage you to keep it. But you can edit it however you’d like.
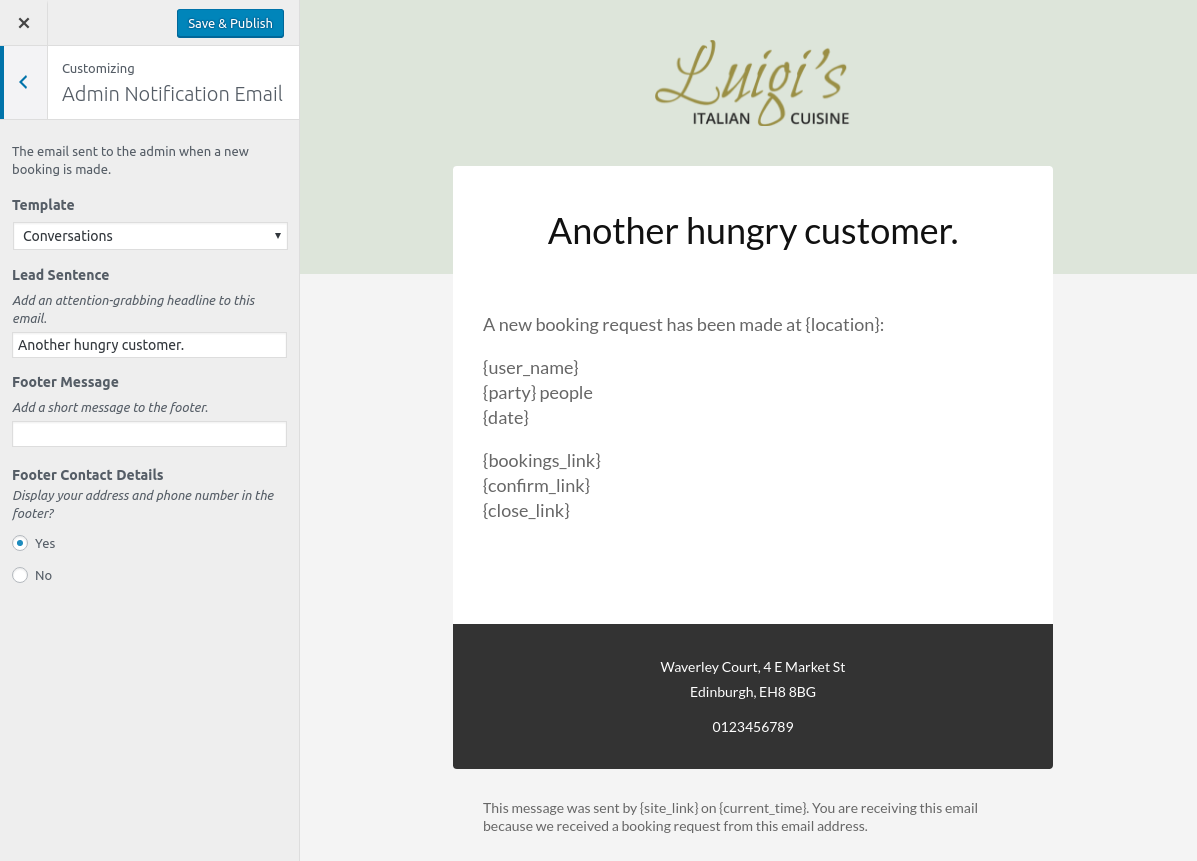
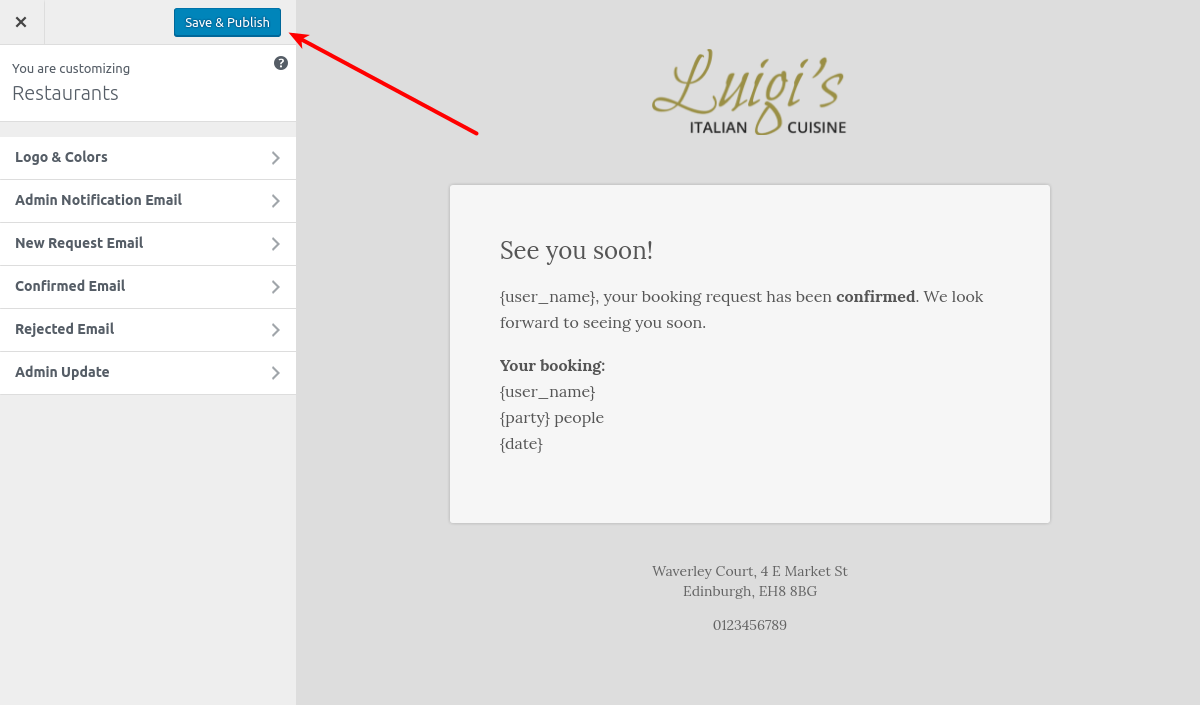
When you click on any of the sections for other emails, the live preview will update to show you that notification email. Each notification email can use it’s own template, lead sentence and footer message. Here are the options for the Admin Notification email, shown in the Conversations template.
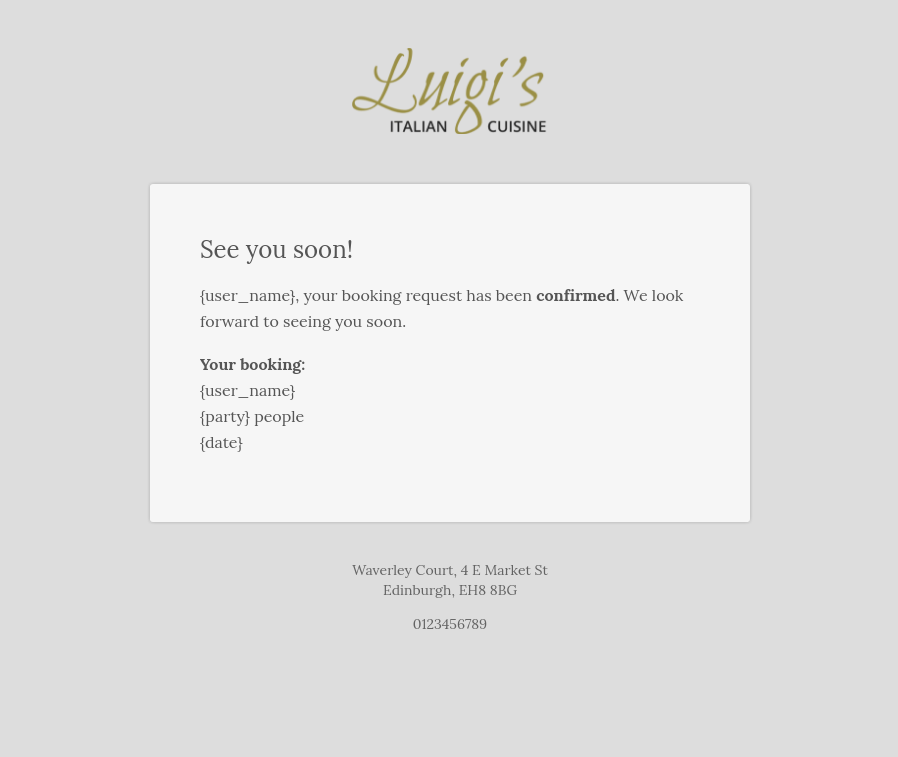
Each of the email templates has a different layout and style. You’ll want to check each email to make sure it looks great. Here’s an example of the Stationary template.
When you’re happy with the outcome, don’t forget to click Save & Publish.
Still have questions? Take a look at the FAQ.