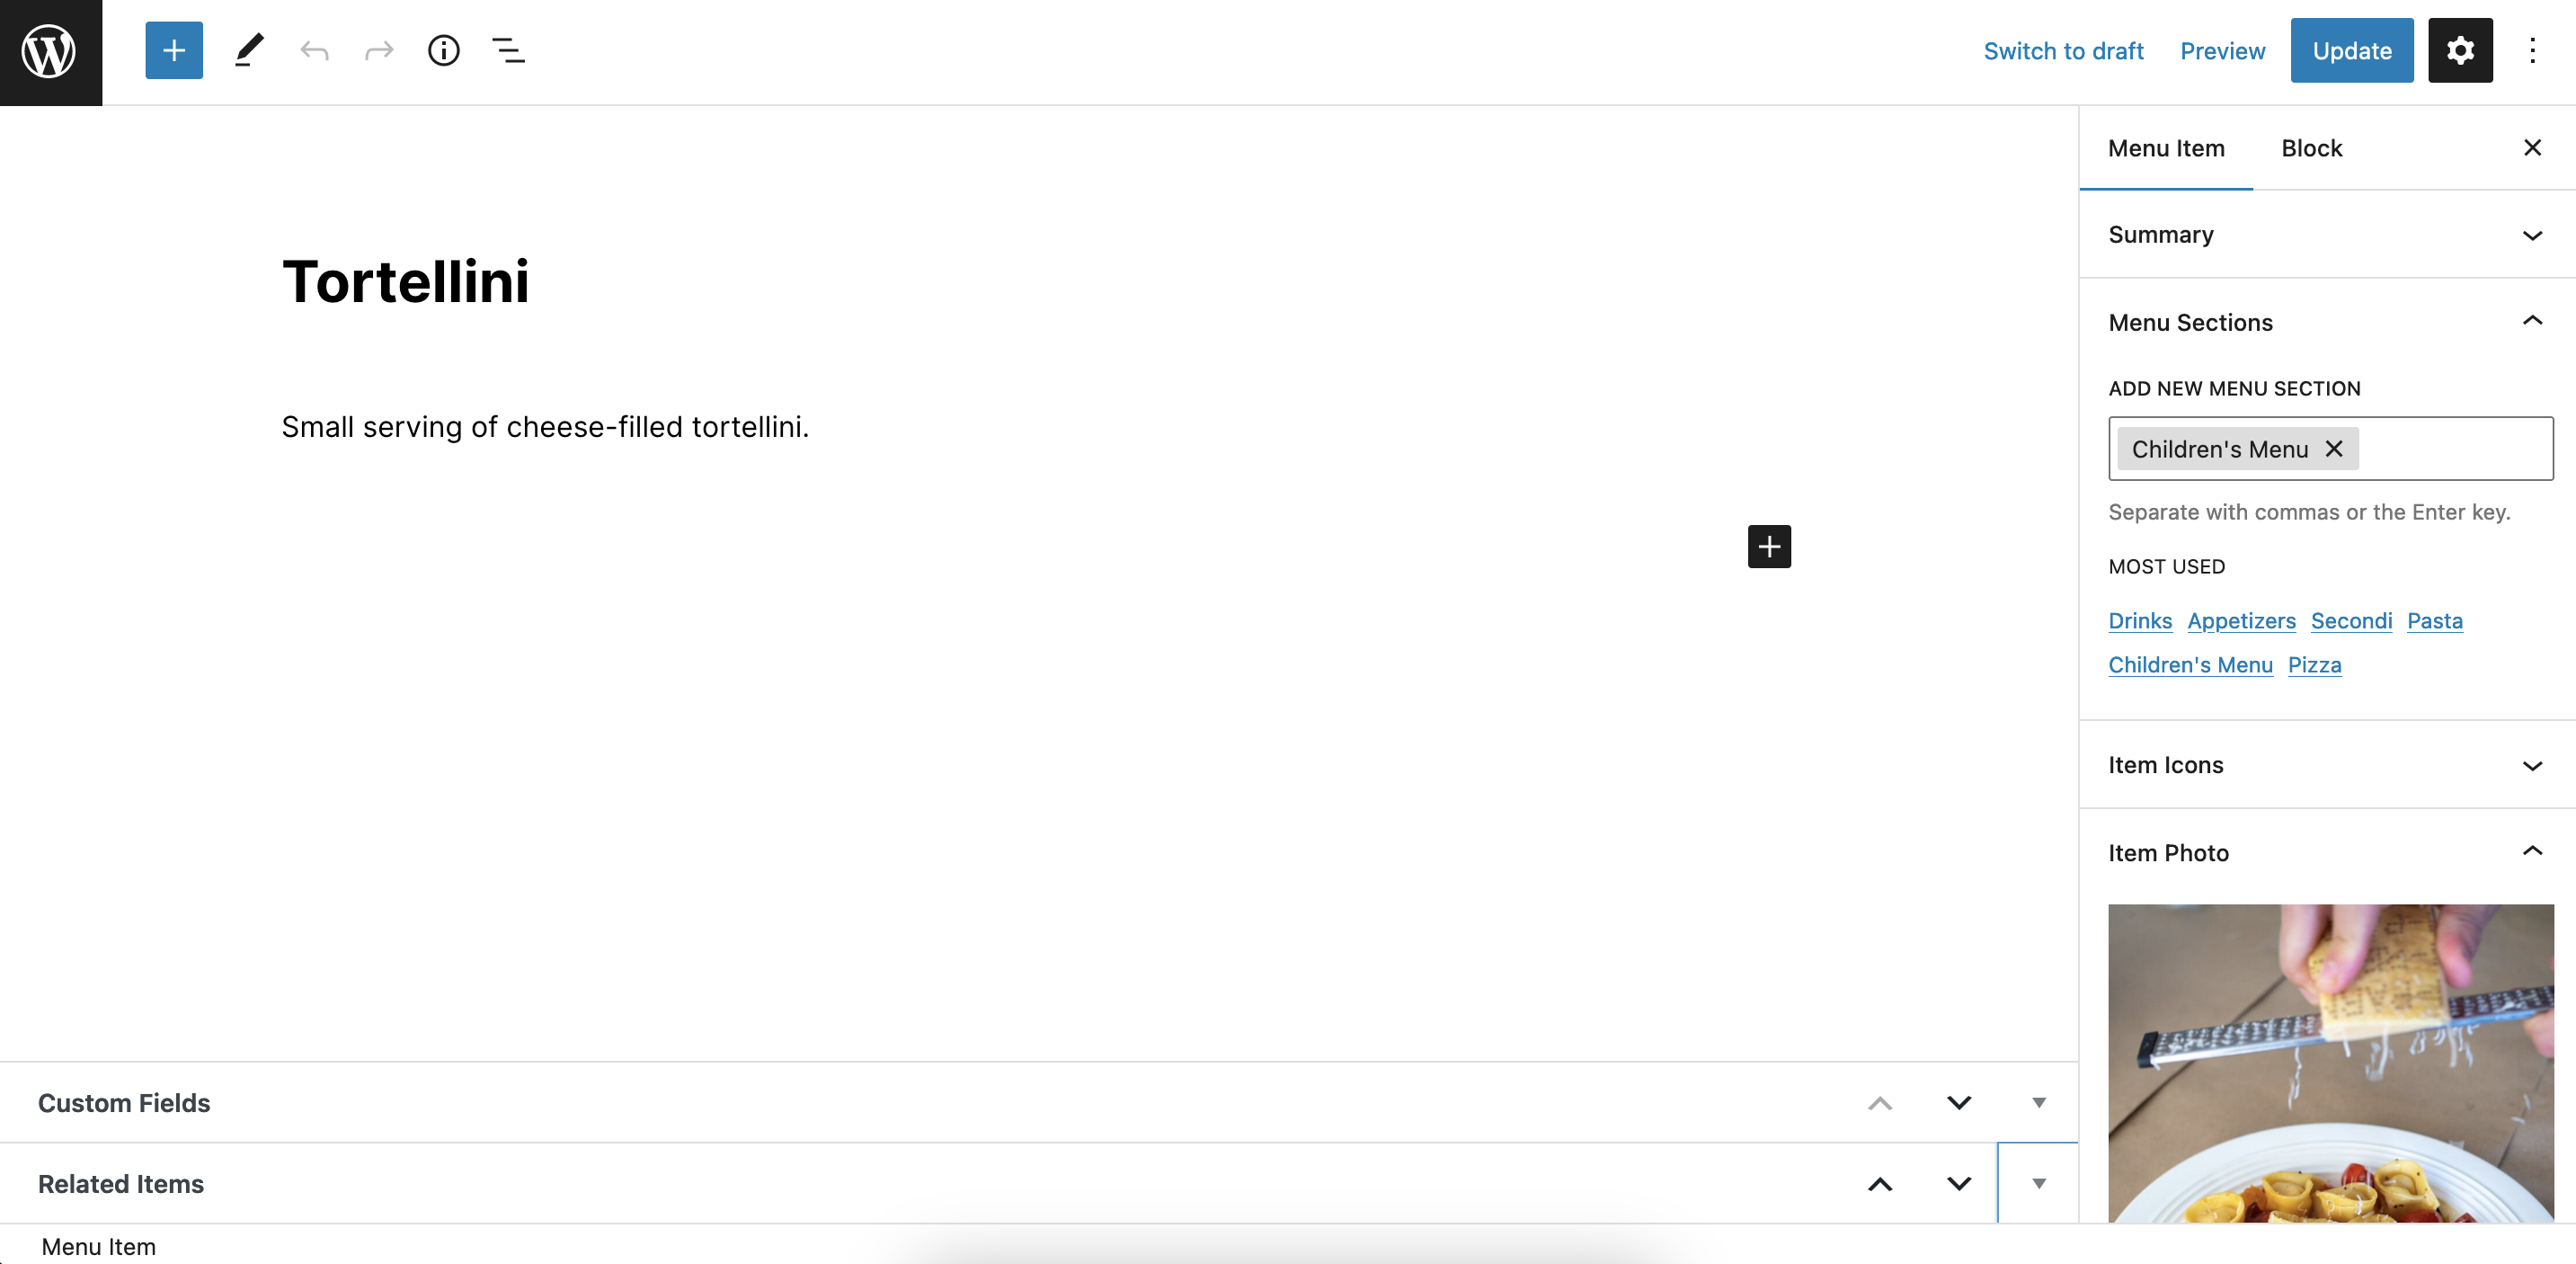
To create a menu item, go to the Menu Items > Add Menu Item page in your WordPress admin area. You’ll see the following:

A Menu Item represents one dish from your menu. Use this page to give your Menu Item a title, like “Butternut Squash Soup”, and a description, like “A creamy butternut squash soup made with a slice of toast on the side”.
Assign the Menu Item to a Menu Section
On the right, you’ll see a number of panels for adding information to your Menu Item. Here you can enter in the price, add an image and assign each Menu Item to a Menu Section, such as Appetizers, Entrees and Desserts.
In the Menu Sections panel, type the name of the Menu Section you’d like to add this item to and click the Add button.
Every Menu Item needs to be assigned to a Menu Section, or else you won’t be able to add it to a menu.
Add More Items
Go ahead and create a couple more Menu Items following the steps above. For the next steps, you’ll want at least a couple of Menu Sections, so make sure that two items are assigned to different sections.
Once you have created your desired items and sections, you’re ready to now create the menu to put them in.
