When you first activate the plugin, it will automatically run a walk-through that will help you create your menu items and add the menu to your site.
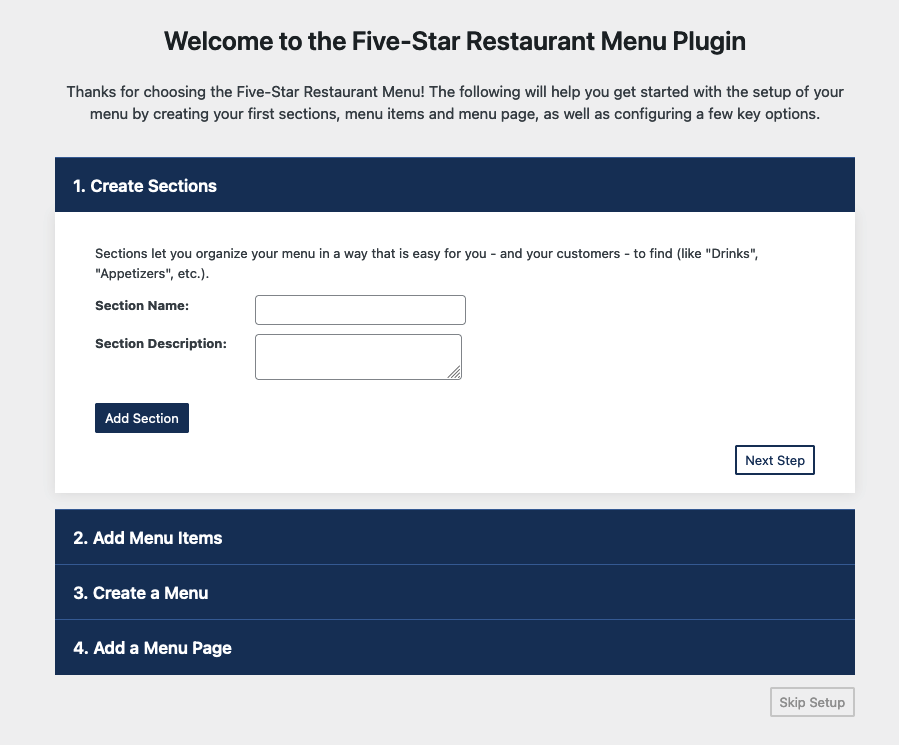
The walk-through consists of four steps.
-
Create Sections: This lets you create one or more sections, which you can then assign your menu items to.
-
Add Menu Items: Here is where you create your menu items. You can choose an image, enter a name, description and answer, and assign each item to a section. You can create as many menu items as you want during the walk-through.
-
Create a Menu: Here you can create your menu and choose which sections to include in it.
-
Add a Menu Page: This will create a new page on your WordPress site and place your menu on it.
If you’d like, you can re-run the walk-through at any time by going to the following URL in your WordPress admin:
admin.php?page=fdm-getting-started
So, if, for example, your site domain is:
https://www.my-site.com/
Then, to restart the walk-through, you would go to:
https://www.my-site.com/admin.php?page=fdm-getting-started
You’re now ready to learn more about menus and the available blocks and shortcodes.