To build a menu you will first create menu items, assign them to sections and then add those to a menu using the instructions below.
Go to the Menus > Add Menu page in your WordPress admin area. You’ll see the following page:
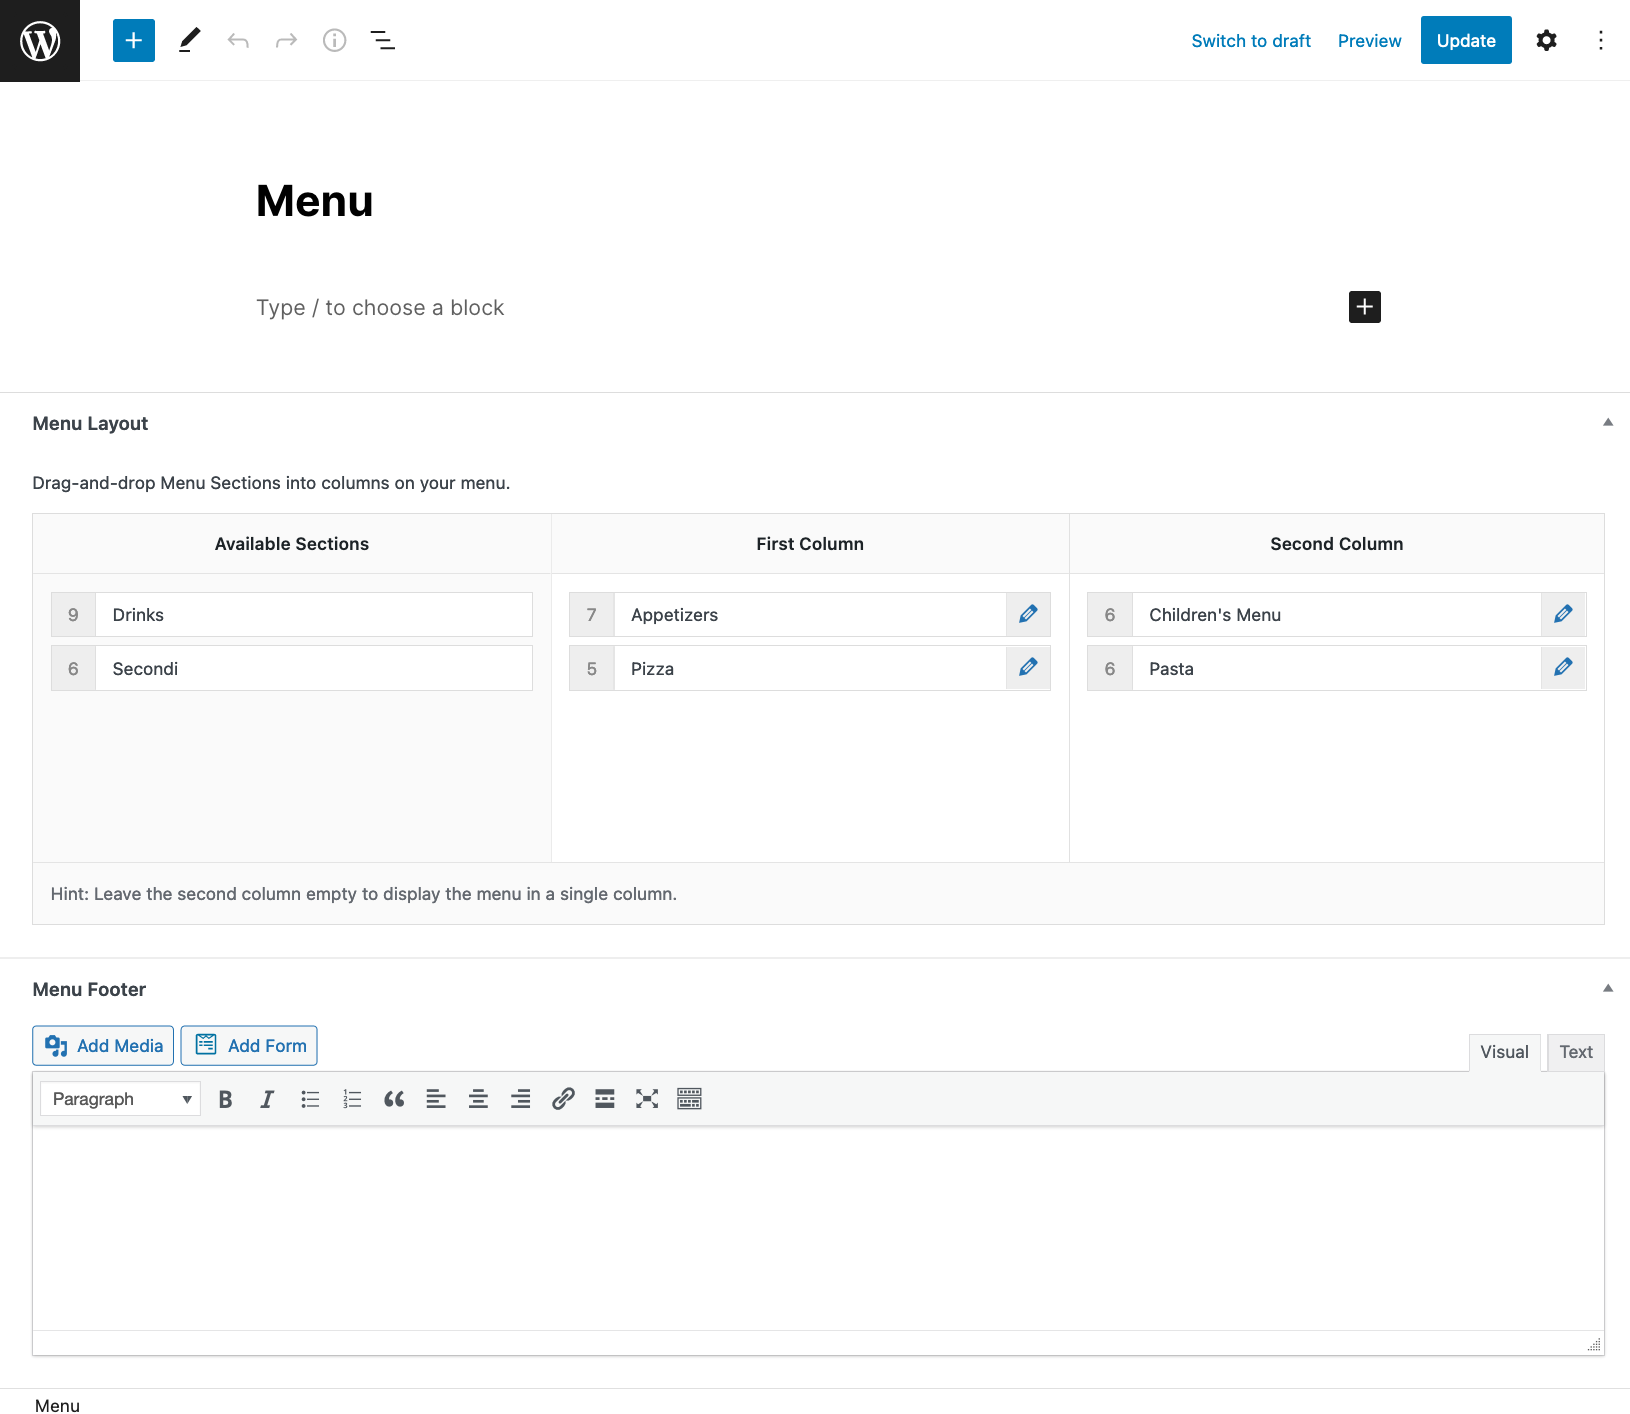
You’ll recognize the title and description areas, which work just like your Menu Item. For now, let’s focus on the Menu Layout panel.
You’ll see your Menu Sections listed here. Now you can build a one- or two-column menu by adding the Menu Sections into your Menu.
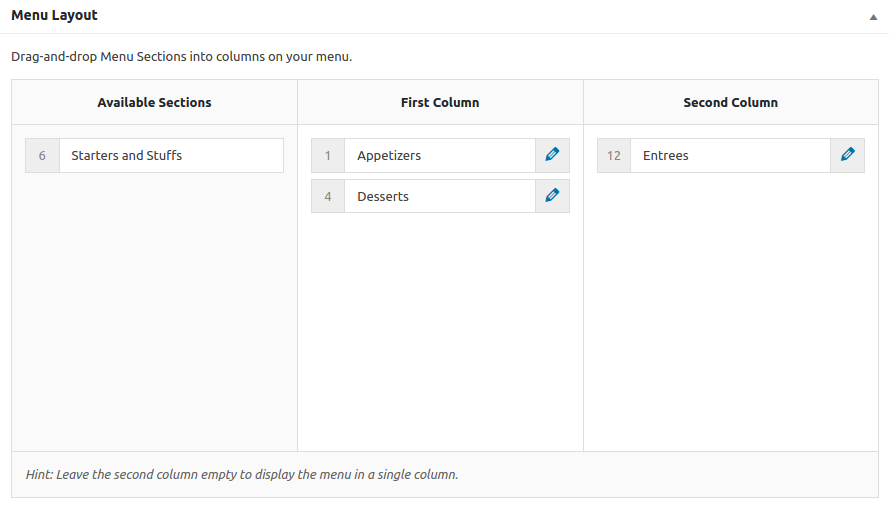
Drag Menu Sections from the Available Sections column into any of the other columns to add them to your Menu. If you only want a single column, don’t add any sections to the Second Column. The plugin will automatically discard the Second Column if no sections are assigned to it.
Once you click the Publish button at the top, your menu will be published. Now you’re ready to display your menu.